
Adobe Illustrator continues to stand tall as the go-to platform for graphic design professionals and creative freelancers alike. Whether you’re designing logos, crafting vector graphics for branding, or creating complex shapes for social media content, Illustrator gives you the flexibility and control you need.
But let’s face it — the world of digital design can feel overwhelming when you’re just getting started. Between the endless sea of tools and the flood of online resources, it’s easy to feel like you need a design degree just to draw a straight line. That’s where this guide steps in.
This isn’t just another Illustrator tutorial. We’re serving up the ultimate beginner-to-pro roadmap filled with Illustrator design techniques that not only save you time but also level up your creative output. Whether you’re self-taught, an agency designer, a branding enthusiast, or a small business owner wearing multiple hats — this guide, packed with tips and tricks, will help you navigate Adobe Illustrator like a seasoned pro.
Plus, we’ve written this specifically for the Aussie creative community. So expect tips that make sense in a local context, examples you can relate to, and a tone that’s less textbook, more friendly neighbour who knows their way around a gradient panel or two, just like exploring the latest trends in influencer marketing Australia.
This article dives deep into the most essential and advanced Illustrator design techniques, ideal for both beginners exploring the basic tools and advanced users seeking pro-level workflows.
Why Adobe Illustrator Is Still King in 2025

Vector graphics have become a non-negotiable standard in digital design. Raster images may work for photography, but for designing logos, icons, or scalable visuals, especially when creating complex shapes Illustrator’s precision with anchor points and path control is unparalleled. Thanks to its powerful tools panel, dynamic control panel, and limitless flexibility, designers can easily create everything from simple shapes to more complex shapes with high-level accuracy.
One of Illustrator’s greatest strengths lies in its ability to produce artwork that’s resolution-independent. That means you can design for billboards, web banners, or tiny app icons using the same source file—without losing clarity. It’s this scalability that makes Illustrator an essential part of any professional’s toolkit.
What also sets Adobe Illustrator apart is its integration with other Adobe apps, allowing seamless transitions between Illustrator and Photoshop, InDesign, or even After Effects. Add to that its compatibility with third-party plugins like those found on Envato Elements, and you have a software suite that evolves with your skills.
Beyond the software’s flexibility, there’s a global community of creatives constantly sharing Illustrator tutorials, design packs, and plugins to inspire and educate. The platform isn’t just a tool—it’s an ecosystem built for innovation.
Whether you’re drawing with the pen tool, exploring design dynamics with the perspective grid, or experimenting with styles through the appearance panel, Illustrator delivers the exacting control and sophisticated effects that modern design demands, including the creation of stunning line art .
Setting Up: Understanding the Workspace

The first thing to master is the workspace. Whether you’re working on a quick banner ad or designing logos for a full brand identity, your success in Adobe Illustrator starts with understanding your environment. Illustrator’s user interface can be customised to suit your creative process and workflow style.
At the heart of this setup is the tools panel, which houses everything from the selection tool and pen tool to the eraser tool, knife tool, and curvature tool. Learning how to navigate these with ease is a game-changer.
You’ll also want to familiarise yourself with the control panel and appearance panel, where you can fine-tune stroke widths, alignments, and apply appearance attributes. These two panels are crucial when it comes to manipulating shapes and text with precision.
The layers panel is another hero feature. It allows you to stack, lock, hide, and organise your work into manageable segments—essential when working with multiple objects or complex designs. Combine this with the actions panel, which can automate repetitive tasks, and you’re looking at a highly streamlined workspace.
Don’t forget to pin the swatches panel and gradient panel for quick access to your colour palettes, and keep the align panel nearby for those moments you need to quickly distribute objects or snap them into place.
Tip: Enable smart guides and rulers to improve your alignment game. Also, if you ever feel overwhelmed, double-clicking a tool will open its settings so you can tweak it to behave just the way you want.
Tip: Enable smart guides and rulers to align and distribute objects precisely.
The Basics: Get to Know Your Tools

Before diving into advanced compositions or brand-perfect designs, it’s essential to get comfortable with the core set of Illustrator’s tools, especially those used for basic shapes . These are the foundation of your design skills, and understanding their function will significantly boost your speed and creativity.
The Top Basic Tools Every Designer Should Know
Selection Tool:
This is your go-to for moving and transforming selected objects. It lets you quickly adjust the position, scale, and rotation of shapes, texts, and paths.
Direct Selection Tool:
Used to manipulate individual anchor points and path segments. Ideal for fine-tuning curves or making small adjustments to shapes.
Pen Tool:
The cornerstone of vector art. Use it to draw straight lines, smooth curves, and build intricate paths with complete control over anchor points.
Type Tool:
Essential for any text work. Add headers, body text, and custom typography to your projects. Combined with the appearance panel, you can apply graphic styles that make your typography stand out.
Eyedropper Tool:
Speeds up your colour workflow by sampling existing stroke color or fill color from any object. Bonus: it also grabs style attributes like fonts and line weights.
These are the must-knows, but don’t stop there. As you begin working on more complex shapes or multi-object compositions, tools like the anchor point tool, curvature tool, and magic wand tool will become invaluable.
Working With Shapes
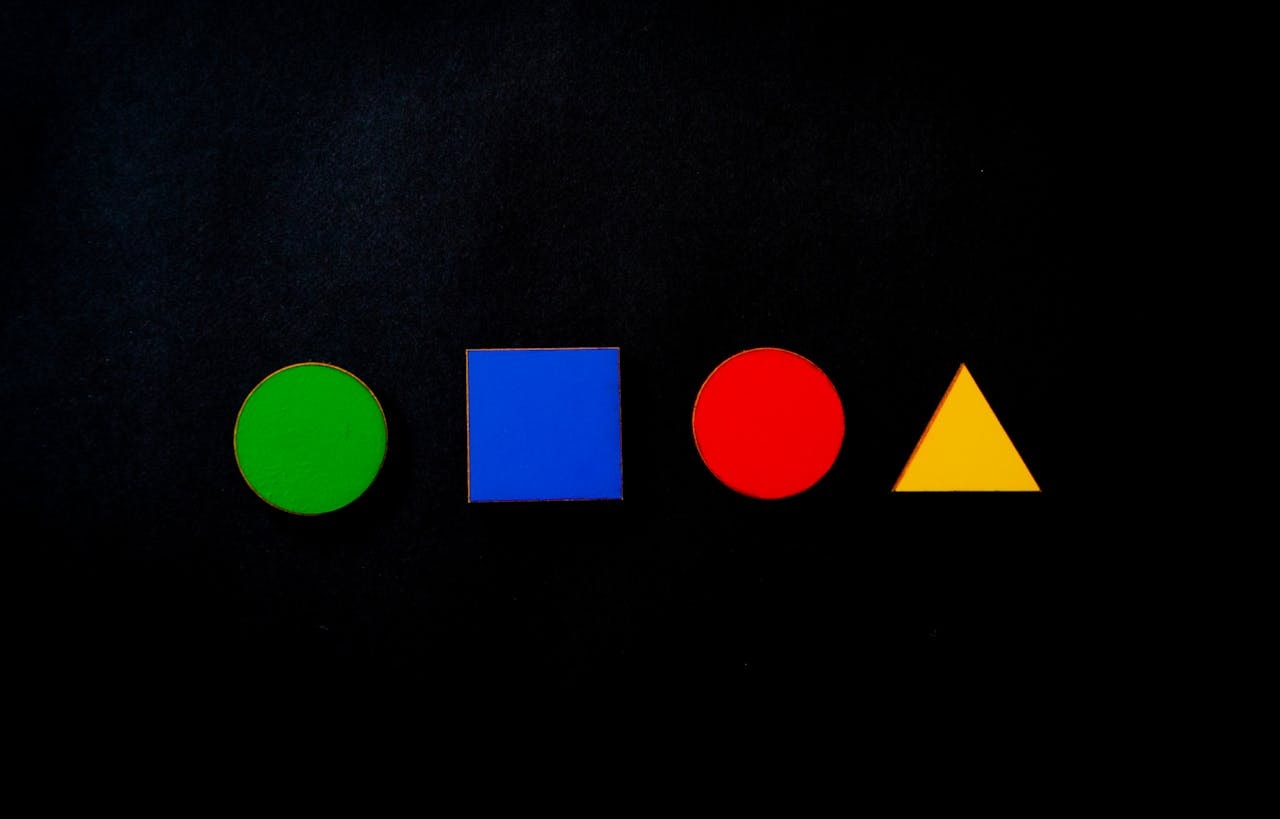
Creating visuals starts with mastering basic shapes like rectangles, circles, ellipses, stars, and polygons. These are the building blocks of any good vector graphic. When you become fluent in arranging, combining, and manipulating these forms, you can quickly transition from simple sketches to polished, scalable artwork.
One of Illustrator’s greatest strengths is how easily it lets you transform these simple shapes into complex shapes. With intuitive tools like the shape builder tool and the pathfinder panel, you can combine, subtract, and intersect elements without ever leaving your canvas.
Need to align or distribute elements? That’s where the align panel comes in. You can also use smart guides and the control panel to snap objects into place and measure distances accurately. Whether you’re creating a logo, a UI wireframe, or a decorative motif, these small adjustments make a big difference in achieving symmetry and balance.
Want to get creative? Convert shapes into guides, turn strokes into filled paths, or play with rounded corners using the direct selection tool and anchor point tool. You can also fine-tune designs with the path tool, use the knife tool to slice elements into new forms, or introduce dynamic effects using graphic styles.
For even more artistic flair, integrate textures or hand-drawn elements over your shapes using the clipping mask function. This technique is perfect for overlaying a hand drawn sketch within a confined vector space, allowing you to blend traditional and digital styles seamlessly.
Pro Tip: Try layering shapes and applying different opacities or blending modes. Use the appearance panel to stack multiple fills or strokes and experiment with how your design interacts with background layers.
The Shape Builder Tool in Action
When working with multiple objects, simply drag across overlapping areas to combine or delete them. It’s a quick way to build intricate illustrations without using the pathfinder options.
Using the Pathfinder Tool
The pathfinder tool allows you to unite, subtract, intersect, or exclude overlapping shapes. It’s like a digital cookie cutter, giving you creative control for complex designs.
Drawing Techniques for Every Style

Illustrator gives designers the freedom to switch between structured geometric work and more freeform artistic expression. This versatility is what makes it such a powerful tool across different creative disciplines. Whether you’re crafting precise UI components, playful illustrations, or expressive branding elements, Illustrator offers a range of drawing tools tailored to your style.
Sketching out ideas directly onto the artboard? Tools like the pencil tool and brush strokes mimic a natural hand-drawn feel, ideal for visualising concepts on the fly. Need more polished, professional-grade paths? Then the pen tool is your go-to. It offers absolute control, letting you place anchor points and bend existing paths with mathematical precision.
What’s more, you can combine Illustrator’s various tools to develop hybrid techniques. For instance, begin with a quick outline using the pencil tool, clean it up with the smooth tool, and perfect those edges with the anchor point tool or direct selection tool. Want to further refine or stylise your drawing? Apply a calligraphic brush or convert freeform paths into uniform shapes using the pathfinder panel.
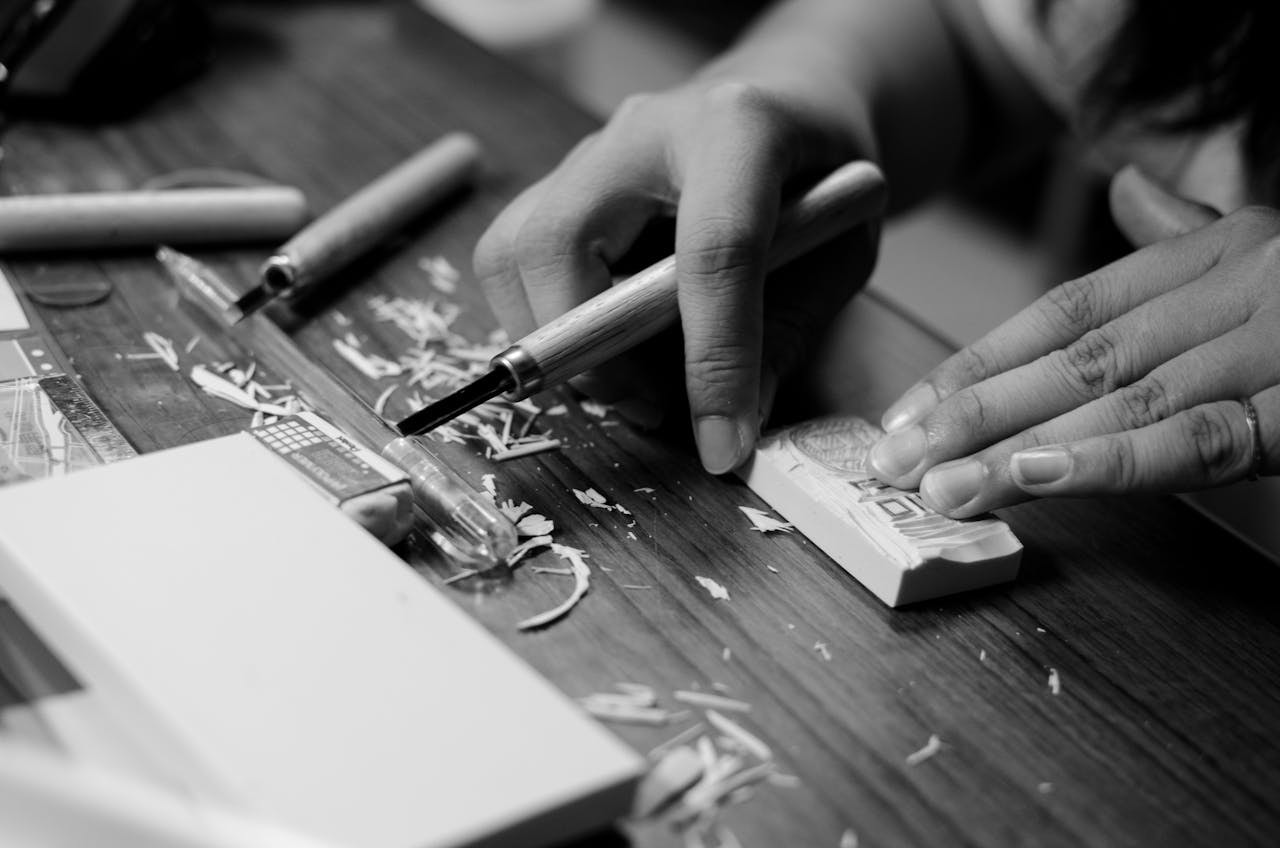
You’ll also find value in converting real-world sketches into vector art. Import your hand drawn sketch as a raster image, use it as a template, and trace over it with the curvature tool or path tool. This method preserves the artistic flair while delivering a scalable, editable vector version.
All of these tools and techniques support not only expressive artistry but also accuracy. Use smart guides, vanishing points, and the perspective grid when you need your linework to meet architectural standards or UI design specs. It’s this blend of creative spontaneity and structural control that truly sets Illustrator apart for professional drawing workflows.
Pencil Tool and Pen Tool

The pencil tool is great for freehand drawing and refining line art. For more control, the pen tool with its anchor point tool is essential in building accurate paths.
Curvature Tool
Prefer smoother, more intuitive curves? The curvature tool is like the pen tool‘s friendlier cousin. It creates smooth curves and rounded corners with ease.
Creating Texture and Depth

Use brush strokes and custom brushes to add personality and vibrance to your artwork. Texture and depth aren’t just for show—they help you establish a visual hierarchy, highlight focal points, and convey mood and dimension in your compositions.
Adobe Illustrator offers an array of brush types that can be used creatively:
- Calligraphic brush: Mimics traditional penmanship and is perfect for elegant lettering and expressive typography.
- Scatter brushes: Disperse elements like leaves, stars, or dots randomly along a path, ideal for adding energy and flair.
- Pattern brushes: Repeat segments of artwork along a stroke to create detailed borders and decorative frames.
- Art brushes: Stretch artwork across a path to emulate painterly textures and organic strokes, especially useful in digital illustrations and branding projects.
Want even more control? You can create your own brushes by converting custom graphics into reusable brush presets. Simply drag your shape into the brushes panel, select your desired brush type, and you’re ready to use it across any design.
Beyond brushes, texture can be built up using opacity masks, blending modes, and layering techniques. Overlaying a raster texture or a hand drawn sketch within a clipping mask can give your vector artwork a tactile, handmade quality. You can even blend colour effects using the gradient tool and gradient panel to add soft transitions and shadows.
Tip: Use textured brushes sparingly to avoid clutter. When paired with clean shapes and thoughtful colour use from the swatches panel, texture becomes a powerful storytelling device.
Adding depth isn’t just about what’s on the surface—it’s about guiding the viewer’s eye, building atmosphere, and ensuring every element has purpose and placement in your visual narrative.- Calligraphic brush: For elegant lettering.
- Scatter brushes: To create dynamic patterns.
- Pattern brushes: For borders and frames.
- Art brushes: To simulate paint strokes.
Tip: You can even create your own brushes by dragging shapes into the brushes panel.
Gradient Magic and Colour Control

The gradient tool and gradient panel let you add dimension to flat illustrations. Use the eyedropper tool and swatches panel to maintain consistent colour schemes. Adjust opacity for layering effects or apply an opacity mask for subtle shading.
Using the Layers Panel Like a Pro

Organise every element in your artwork with the layers panel. Lock, hide, or reorder layers to fine-tune details and reduce clutter.
More Advanced Techniques and Features
Clipping Mask
A clipping mask allows you to crop visuals into desired shapes without deleting any content. Great for showcasing a hand drawn sketch in a creative frame.
Perspective Grid and Vanishing Points
The perspective grid helps in drawing scenes with accurate vanishing points. This is especially useful for UI mockups or architectural illustrations.
Knife Tool and Eraser Tool
The knife tool slices paths and shapes with precision. The eraser tool, on the other hand, deletes portions of your artwork without damaging other layers.
Appearance Attributes
Use the appearance panel to add multiple fills and strokes to the same object. This allows for truly advanced techniques like building 3D effects.
Dynamic Symbols and Reusability
Using symbols is a powerful way to maintain consistency and reduce repetitive work. By creating reusable components with the Symbols panel, you can design a single object once and update all instances simultaneously. This is especially useful for UI icons, brand assets, and pattern elements.
Transform and Distort Effects
Transform tools let you scale, rotate, reflect, or shear objects while preserving their core structure. Use the Effects > Distort & Transform options to create stylised effects like zig-zags, free distortions, and roughened outlines. Combine this with the Appearance panel to stack multiple effects non-destructively.
Envelope Distort
Want to make text or shapes follow a wave, arc, or custom path? Envelope Distort bends your design using predefined warp settings or by mapping it to another object. It’s perfect for packaging design, poster art, or decorative typography.
Blending and Mesh Tools
Add realism and depth with blend objects and the gradient mesh tool. These tools help you achieve smooth colour transitions, natural-looking shading, and 3D-style illusions. Use the blend tool to morph between shapes or colours, and the mesh tool for pinpoint control of tonal gradients.
Quick Illustrator Tips and Tricks

- Double click on tools like the path tool or selection tool to customise settings.
- Use the align panel to align or distribute objects evenly.
- When in doubt, refer to free or premium Adobe Illustrator tutorials.
Illustrator for Branding and Logo Design

Designing logos? Illustrator is built for that. You’ll often begin with simple shapes, apply fill color refine with the direct selection tool, and polish with pathfinder panel functions.
Pro Tip: Hold shift when drawing to create perfect squares or maintain proportions.
Exporting and File Management

Export assets in various formats for print or digital using the control panel. Whether it’s PNG, SVG, or EPS, ensure your work maintains quality across all platforms.
Let’s Talk Real-World Application
At Piri Piri Marketing Hub, we use Illustrator to build:
- Scalable vector logos
- Social media visuals with graphic styles
- Brand kits using consistent swatches and fill colours
- Infographics with a balance of text and shapes
This hands-on application, paired with Adobe’s evolving toolkit, keeps our designs fresh, scalable, and 100% on-brand.
Final Word

Learning Illustrator design techniques doesn’t happen overnight, but with every stroke and path, you’ll get better. Whether you’re fine-tuning anchor points, layering multiple objects, or experimenting with the magic wand tool, there’s always something new to discover.
If you’re keen to elevate your visual brand with high-impact vector illustrations, or want a hand exploring Illustrator’s advanced techniques, reach out to us at Piri Piri Marketing Hub. We’re here to help you create with confidence—and maybe have a bit of fun along the way.